
Getting Started
After signing in, the system is empty. The path to your first managed zone takes three steps.
1. Choose or create a project
Section titled “1. Choose or create a project”Every user automatically gets a personal base project. For teamwork you create a dedicated project — only such projects can be shared.
Everything always has exactly one project as its home: zones, accounts, Sync Groups, Templates, sources, certificates. There are no “loose” objects outside a project.
2. Set up a provider account
Section titled “2. Set up a provider account”Management → Accounts → Add account. After selecting the provider, the form shows its credential fields along with a link to the provider portal and a short guide on where the API key is created there — slightly different for every provider.
Test connection verifies the credentials immediately. An account then carries one of four states: connected, auth error, unreachable, or disabled. Zones of a disconnected account are flagged and temporarily not editable.
The credentials are stored encrypted and never leave the server again.
3. Adopt a zone
Section titled “3. Adopt a zone”Zones → Adopt zone lists the zones that actually exist at the account. Adoption is deliberately selective: you pick individual domains rather than automatically collecting everything.
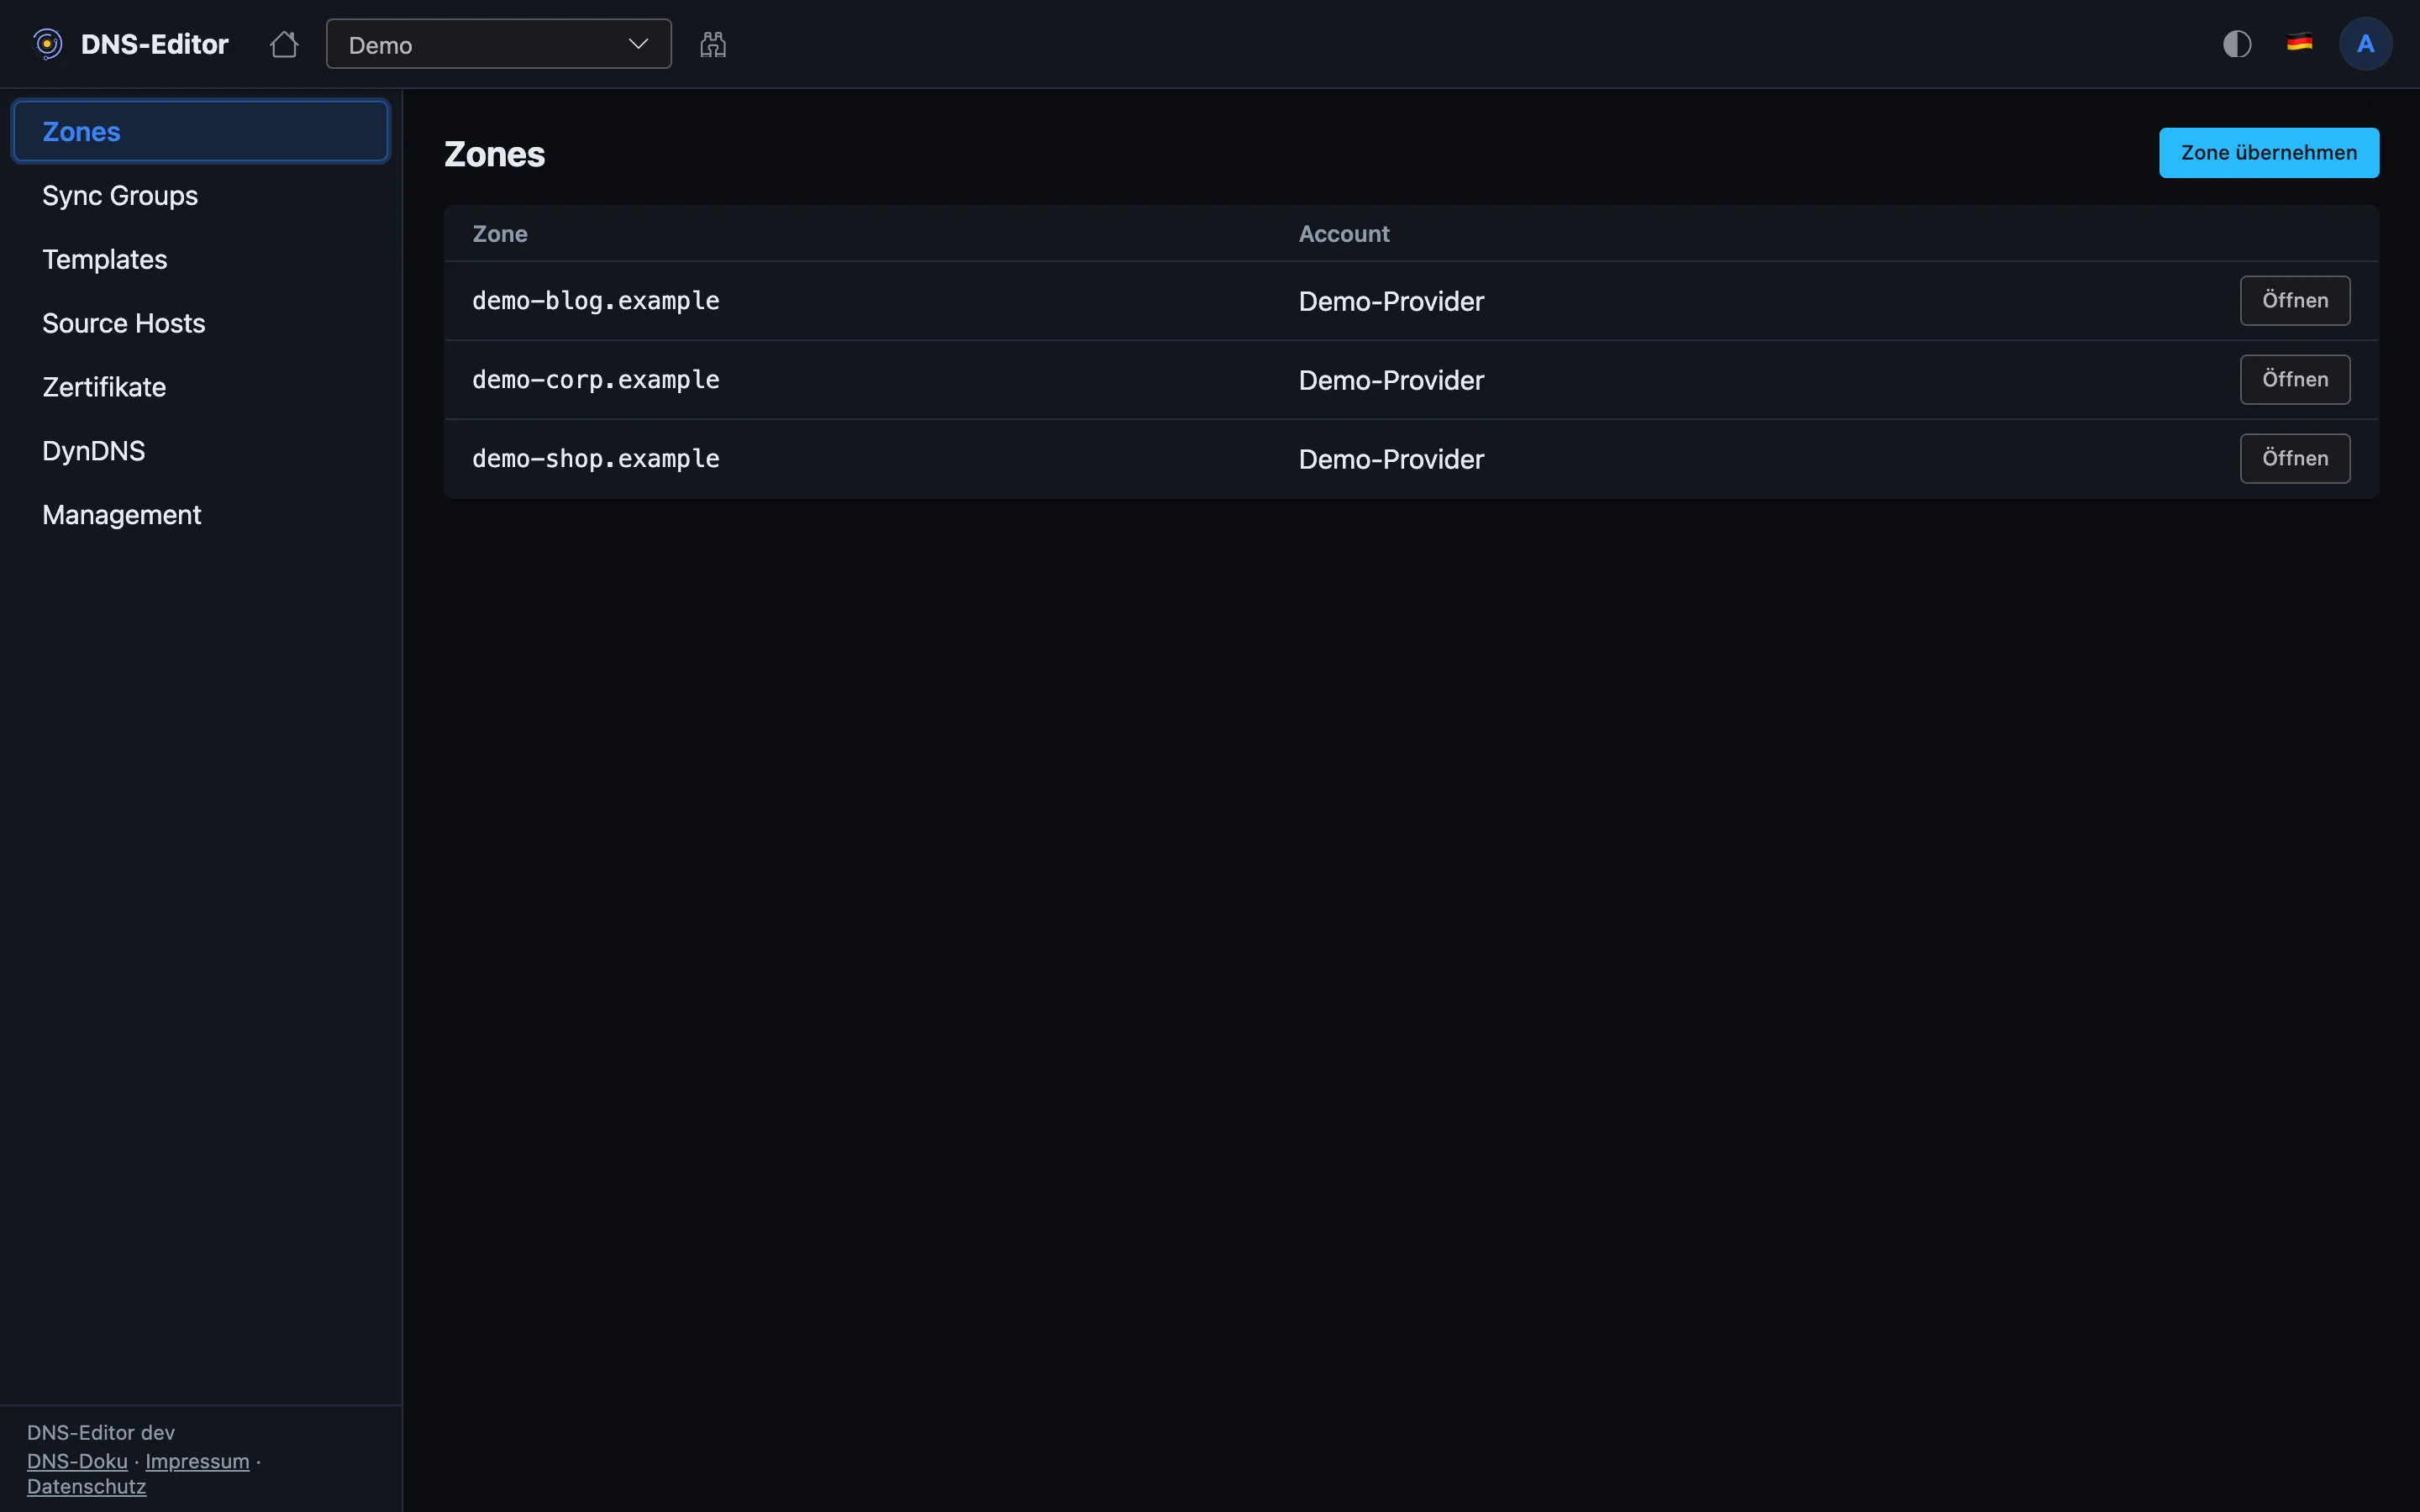
When adopting, the provider’s current state is read in as the initial desired state — nothing changes at the provider yet. From that moment on, the stored state counts as the desired state, and deviations appear as Drift.
What next?
Section titled “What next?”- Editing Record Sets — the editor and what it takes off your hands
- Sync Groups and Templates — avoiding repetition
- Sources and DynDNS — maintaining IPs in one place