Web UI
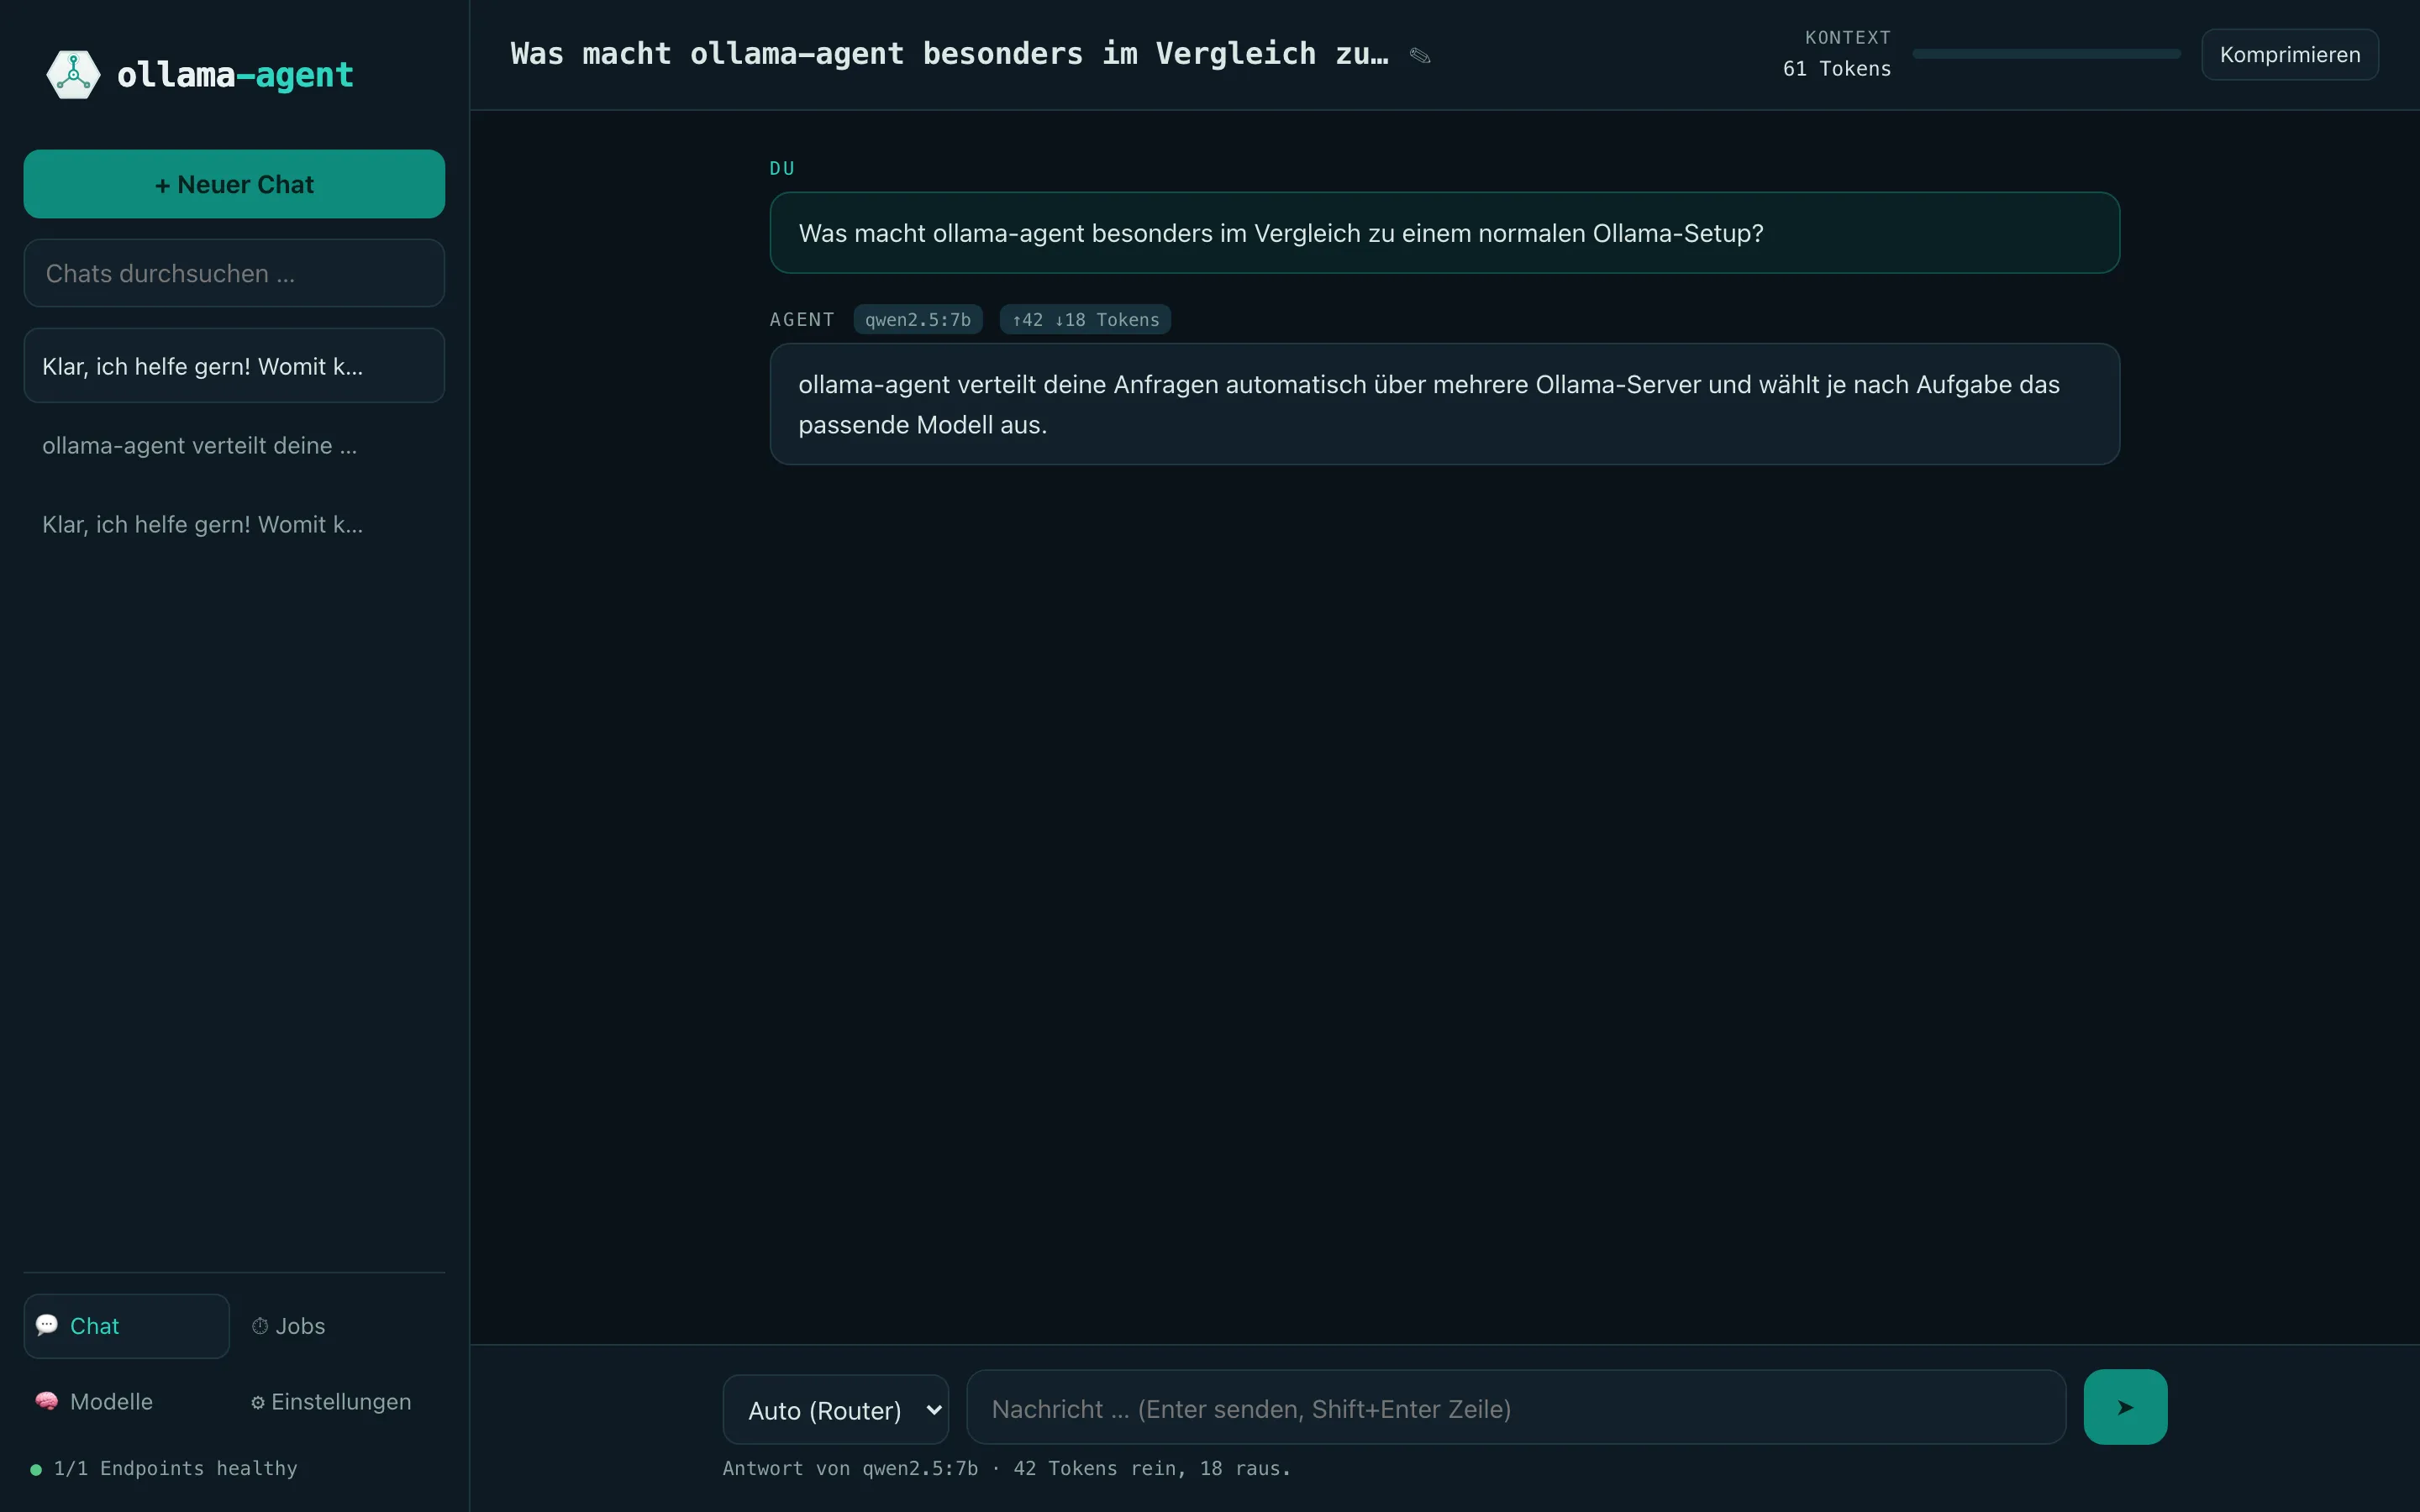
./bin/ollama-agent ui # Daemon starten + Browser öffnen (http://<api.addr>)The daemon ships a dark web UI out of the box (embedded in the binary, no extra server). In the browser, “Install app” turns it into a desktop window (a PWA manifest is included).
Multiple sessions, named automatically (first a short summary of the initial question, then a small model titles the chat asynchronously), renameable (✎), deletable, searchable (titles and content). Every response shows the model and token usage (↑ in / ↓ out); at the top, a context meter shows the model window’s fill level plus a Compress button that shortens the history via an LLM summary. Sessions are persistent (state_dir/sessions/).
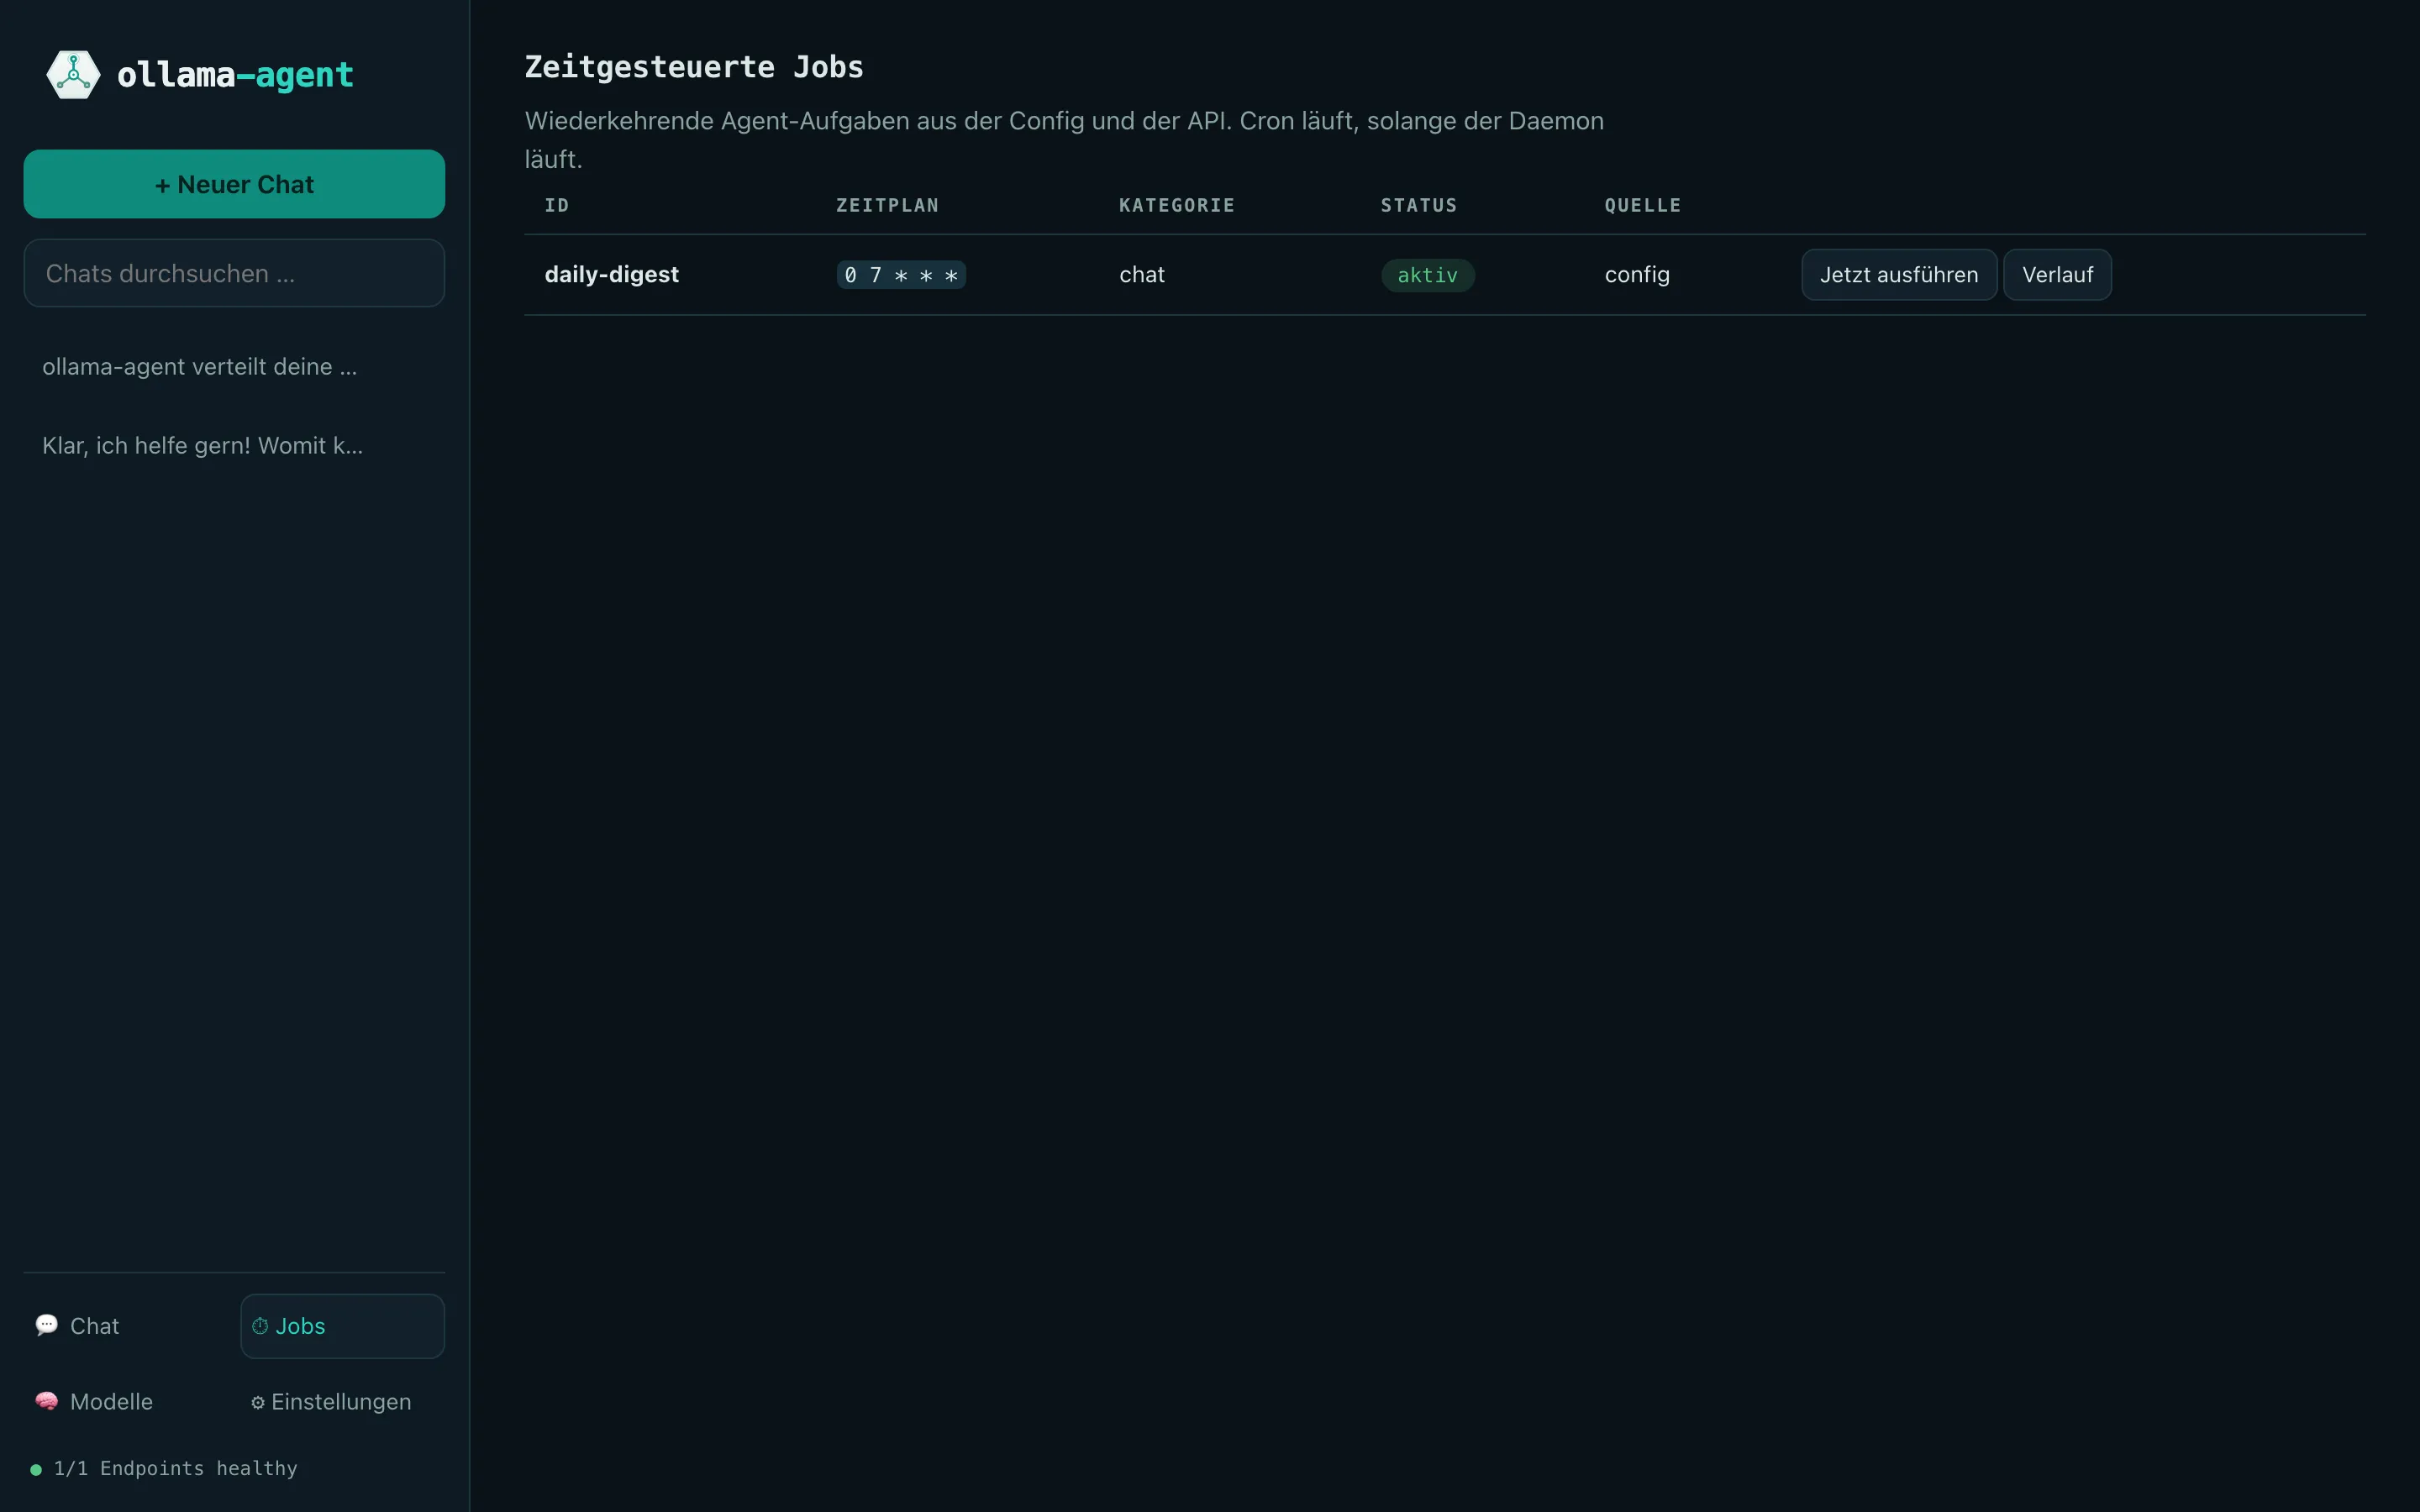
All scheduled jobs with their schedule/status, “Run now”, and history. The “Source” column shows whether a job was created from config.json (config) or via the API (api).
Models
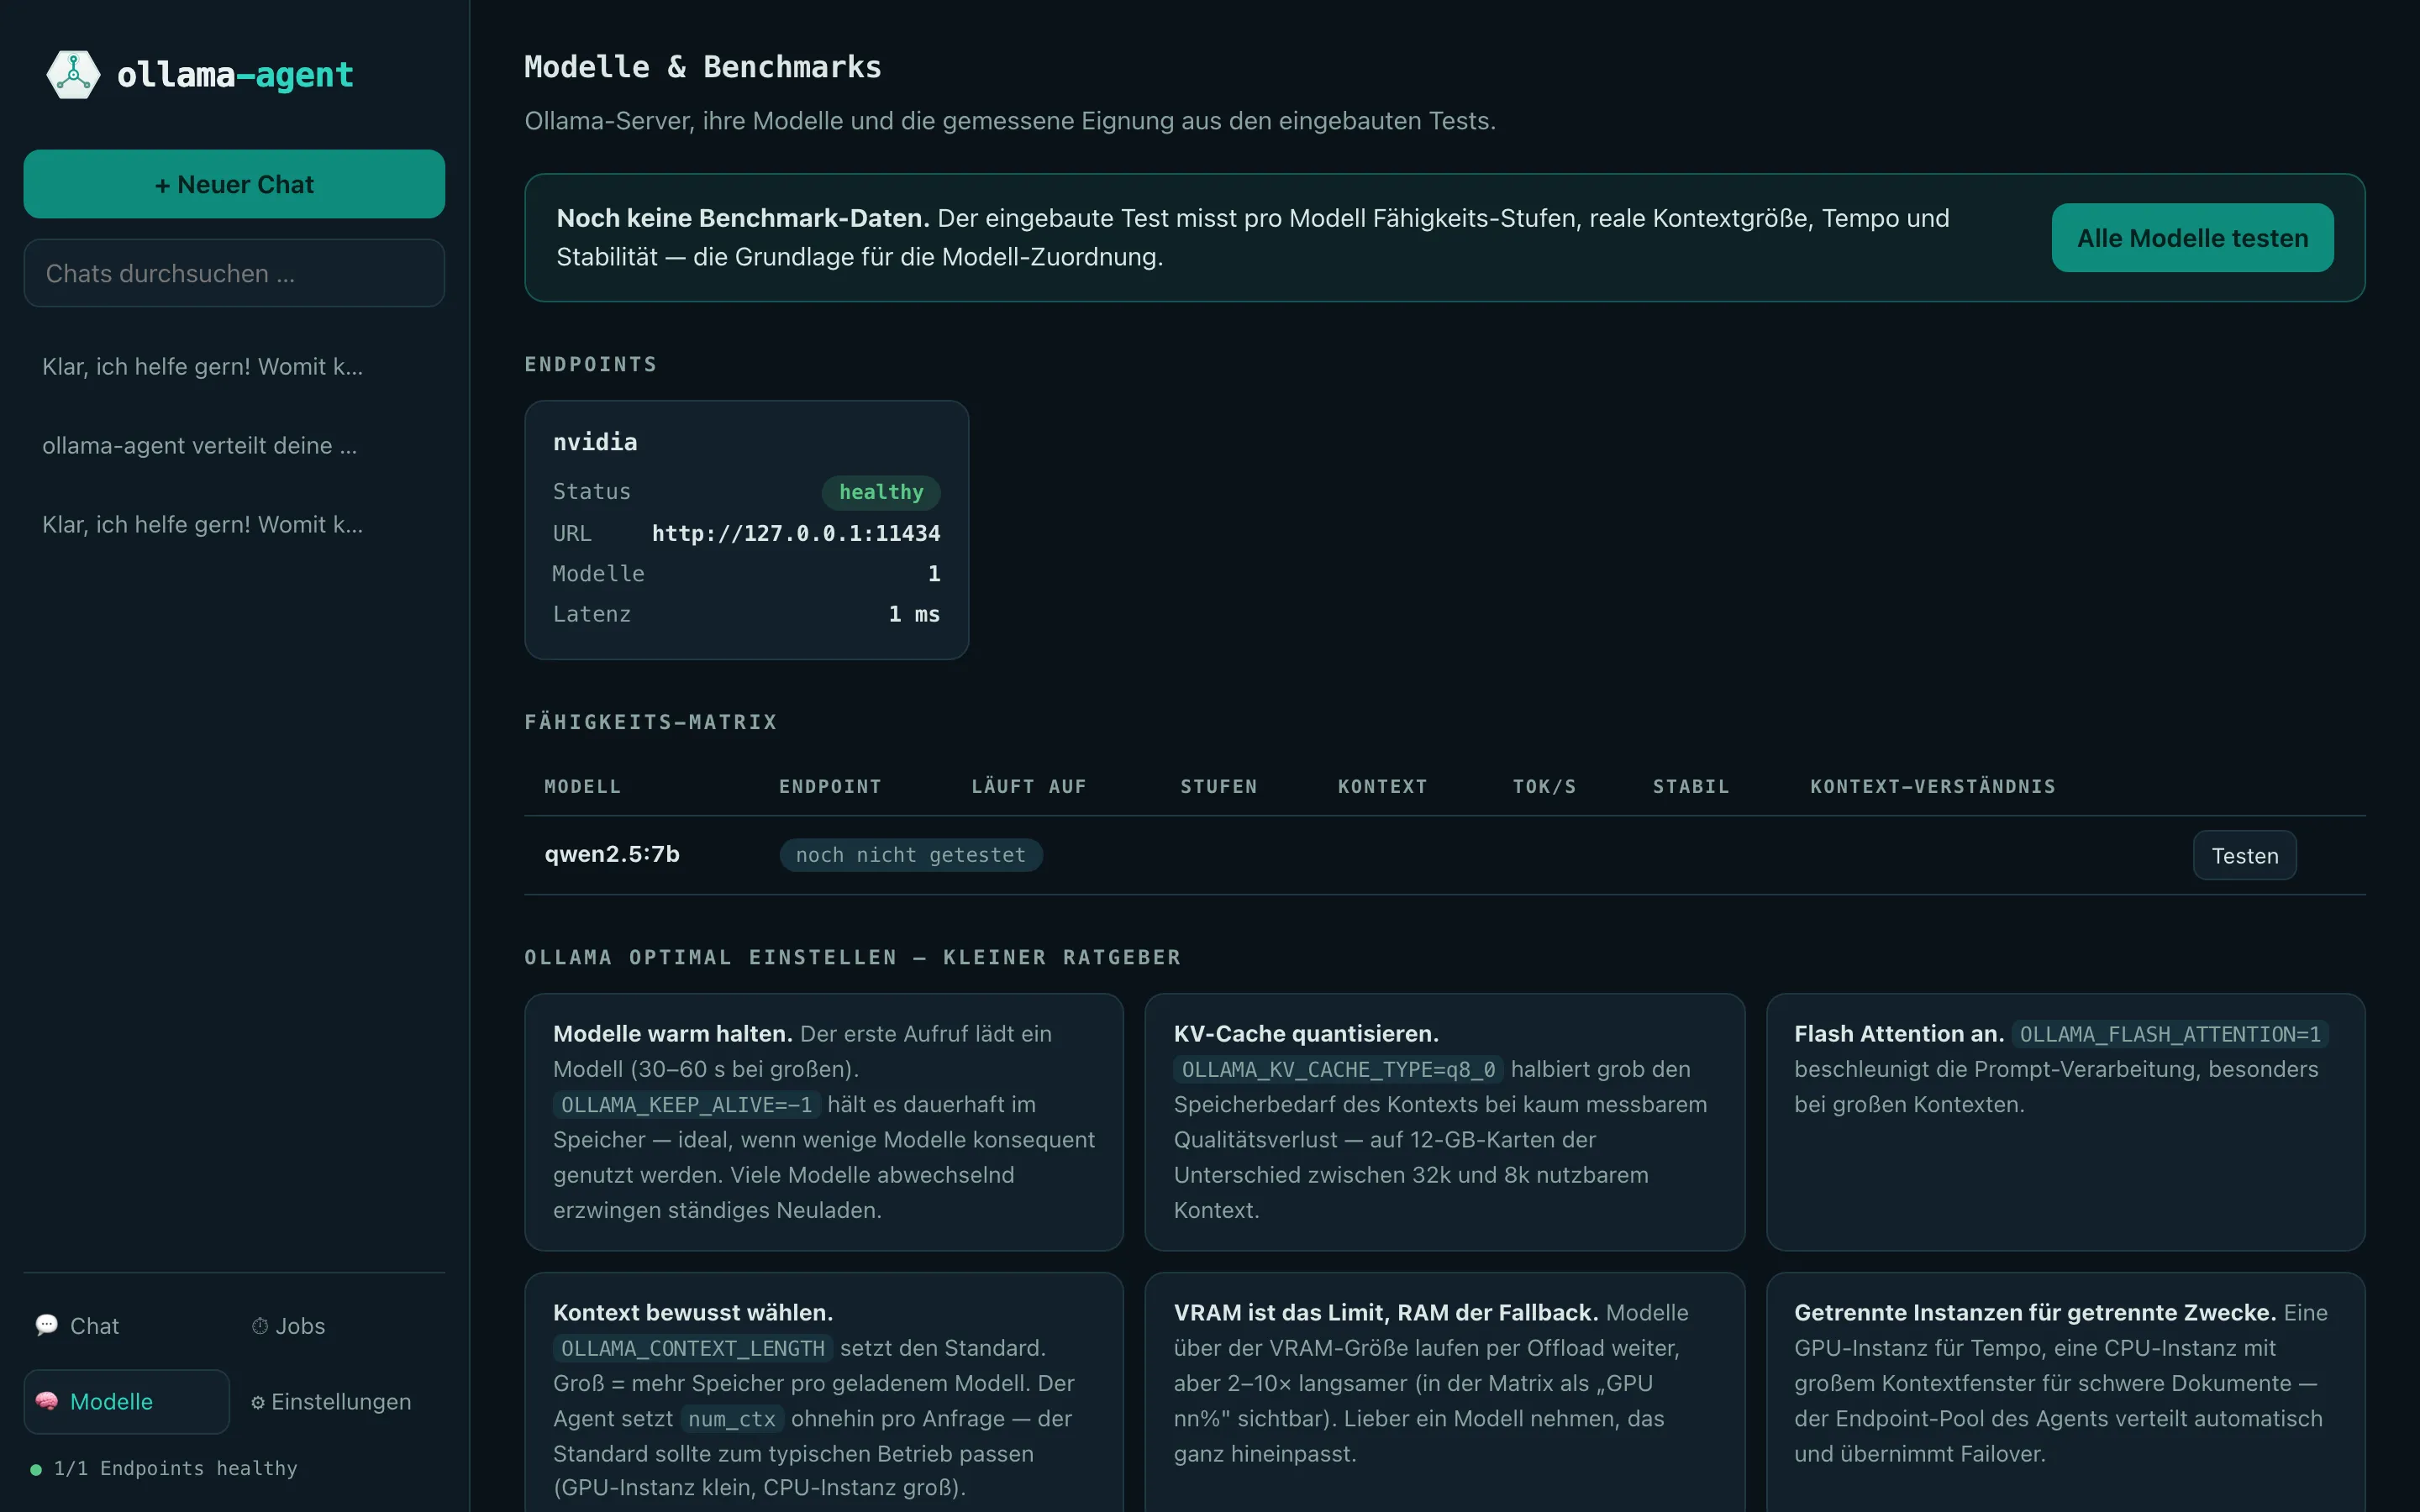
Section titled “Models”Endpoint status, the complete capability matrix (including deep-test scores and “running on GPU/CPU”), benchmark start directly from the UI (all, missing, or individual models; live progress), and the Ollama tuning guide. Without benchmark data, a notice banner with a start button appears at the top — as seen here, on a freshly set-up instance with no test run yet:
After a test run (see Testing models), the matrix fills in per model with tiers, context size, tok/s, stability, and context-understanding score.
Settings
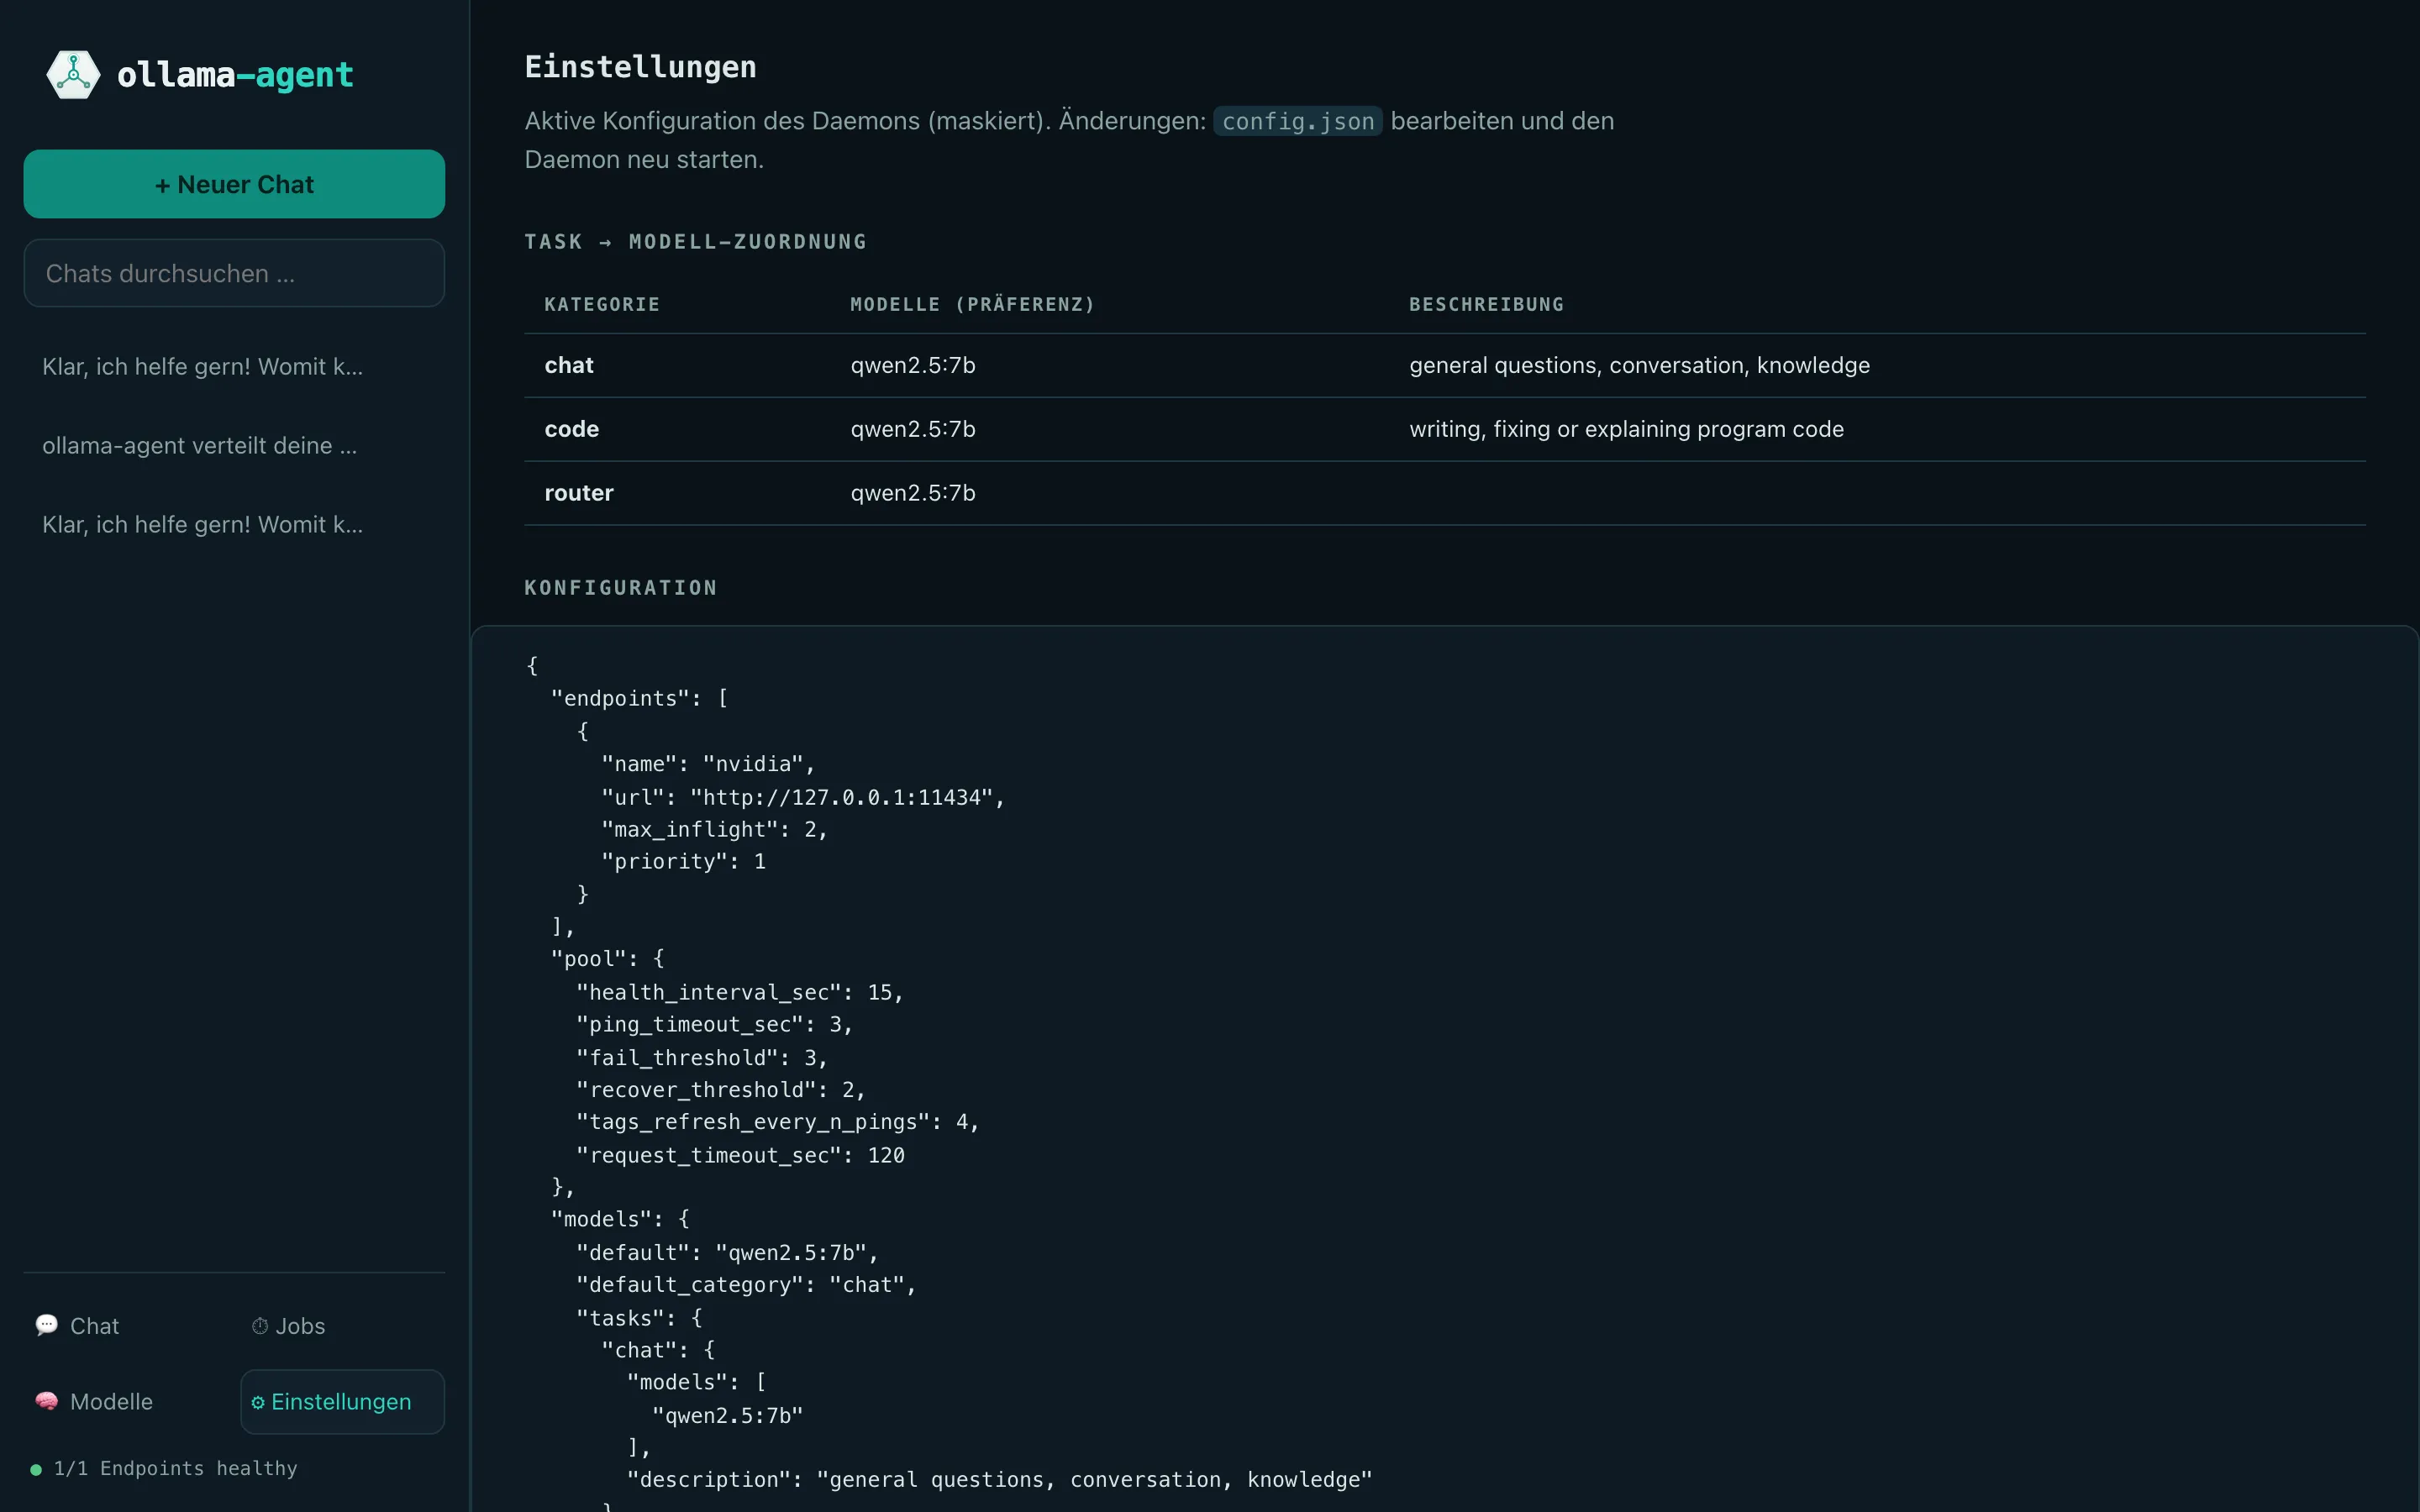
Section titled “Settings”Task-to-model mapping, active configuration (masked), speech features (see below), and a field for the API token, if the daemon runs with auth_token.
Read-aloud & voice input (Google)
Section titled “Read-aloud & voice input (Google)”Under Settings → Speech, enter a Google Cloud API key. On save, the key is first tested against Google — if the test fails, nothing is saved and Google’s error message is shown directly (e.g. “API not enabled”). Only after a successful test do these appear in the UI:
- a 🔊 Read aloud button under every agent response (click again to stop),
- a 🎤 microphone next to the input field: record, tap again to finish, the recognized text lands in the input field.
Language and voice are selectable (the voice list comes live from Google, “Listen to voice” plays a sample). In the Google Cloud project, the Cloud Text-to-Speech API and Cloud Speech-to-Text API must be enabled and authorized for the key.
For security: the key resides exclusively on the server (state_dir/speech.json, file permissions 0600) and is never delivered to the browser — the UI sends text or a recording to the daemon, which talks to Google. Privacy: for read-aloud, the message text goes to Google; for voice input, the audio recording goes to Google. Without a key, everything stays local; “Remove key” hides both features again.
Microphone recording requires
localhostor HTTPS from the browser’s perspective — accessing via a bare IP on the LAN causes browsers to block microphone access.